A Makeup Tutorial: PRIDE-ful Eyes
A Makeup Tutorial: PRIDE-ful Eyes
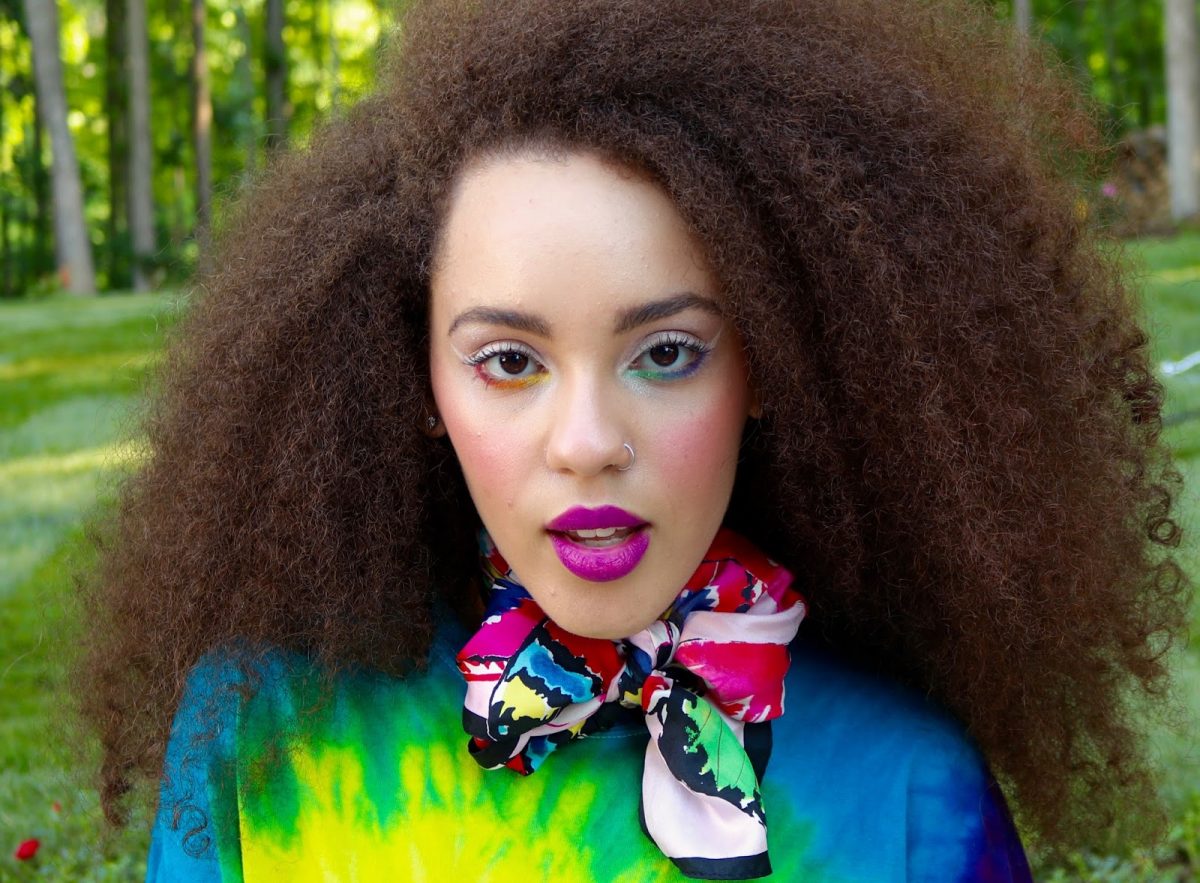
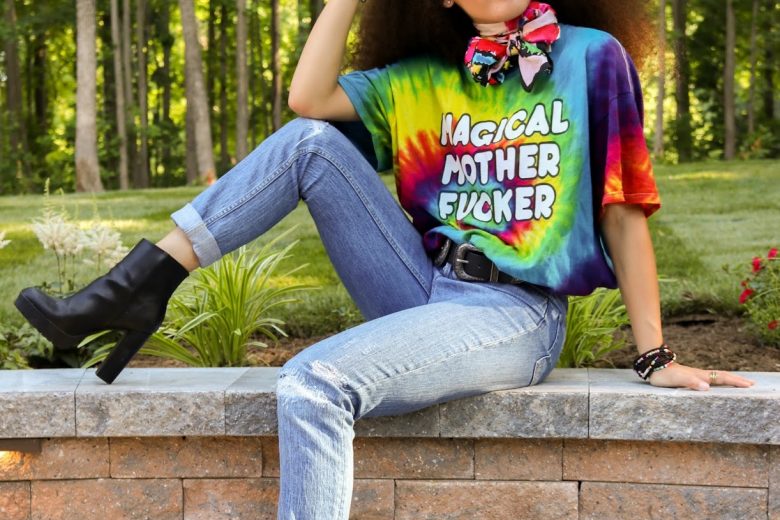
It’s that time of the year again. And what time is that, might you ask? Ah, it’s the time when the world is just on the brink of entering July- when the sun is so scorching and the air is so thick that you can literally feel your makeup melting off your face faster than a popsicle in mid-July. It’s also the time where Pride festivities are slowly coming to an end, but the hearts of queer Americans are still booming with glitter and joy. If you read my last article, “5 Ways to Celebrate Pride Month” (you probably didn’t, because only 13 people did, but hey, whatever, it’s totally fine), then you would know that I had previously claimed that I would fill the month of June with Pride posts. Well, whoops, I didn’t. Regardless, I still have a bangin’ makeup look for anyone who is feeling bad and bold, and lucky for you, it’s SUPER SIMPLE. All you need is a teensy brush, colorful eyeshadow, and a badass outfit (to compliment the badass makeup, of course)! Click any item listed under “What You’ll Need” to see the products that I used (or recommend) for this tutorial!
Embrace Your Misfit Souls,
xoxo Julia B.
Model: Morgan Gingerich (IG: @mgingy)
What You’ll Need:
Let’s Get Started!
Step 1: Primer
Start by applying primer from your lid to your brow (this will help the eyeshadow stay and prevent creasing). Then apply a bit of primer on/below your bottom lash line. For this step, you can use your fingers or a brush.
Step 2: Lid Color
Apply a light, shimmery eyeshadow color all over your lid and up to your brow. Any color will do, but I am using a pink-toned highlight from my blush palette.
Step 3: Warm Colors pt. 1
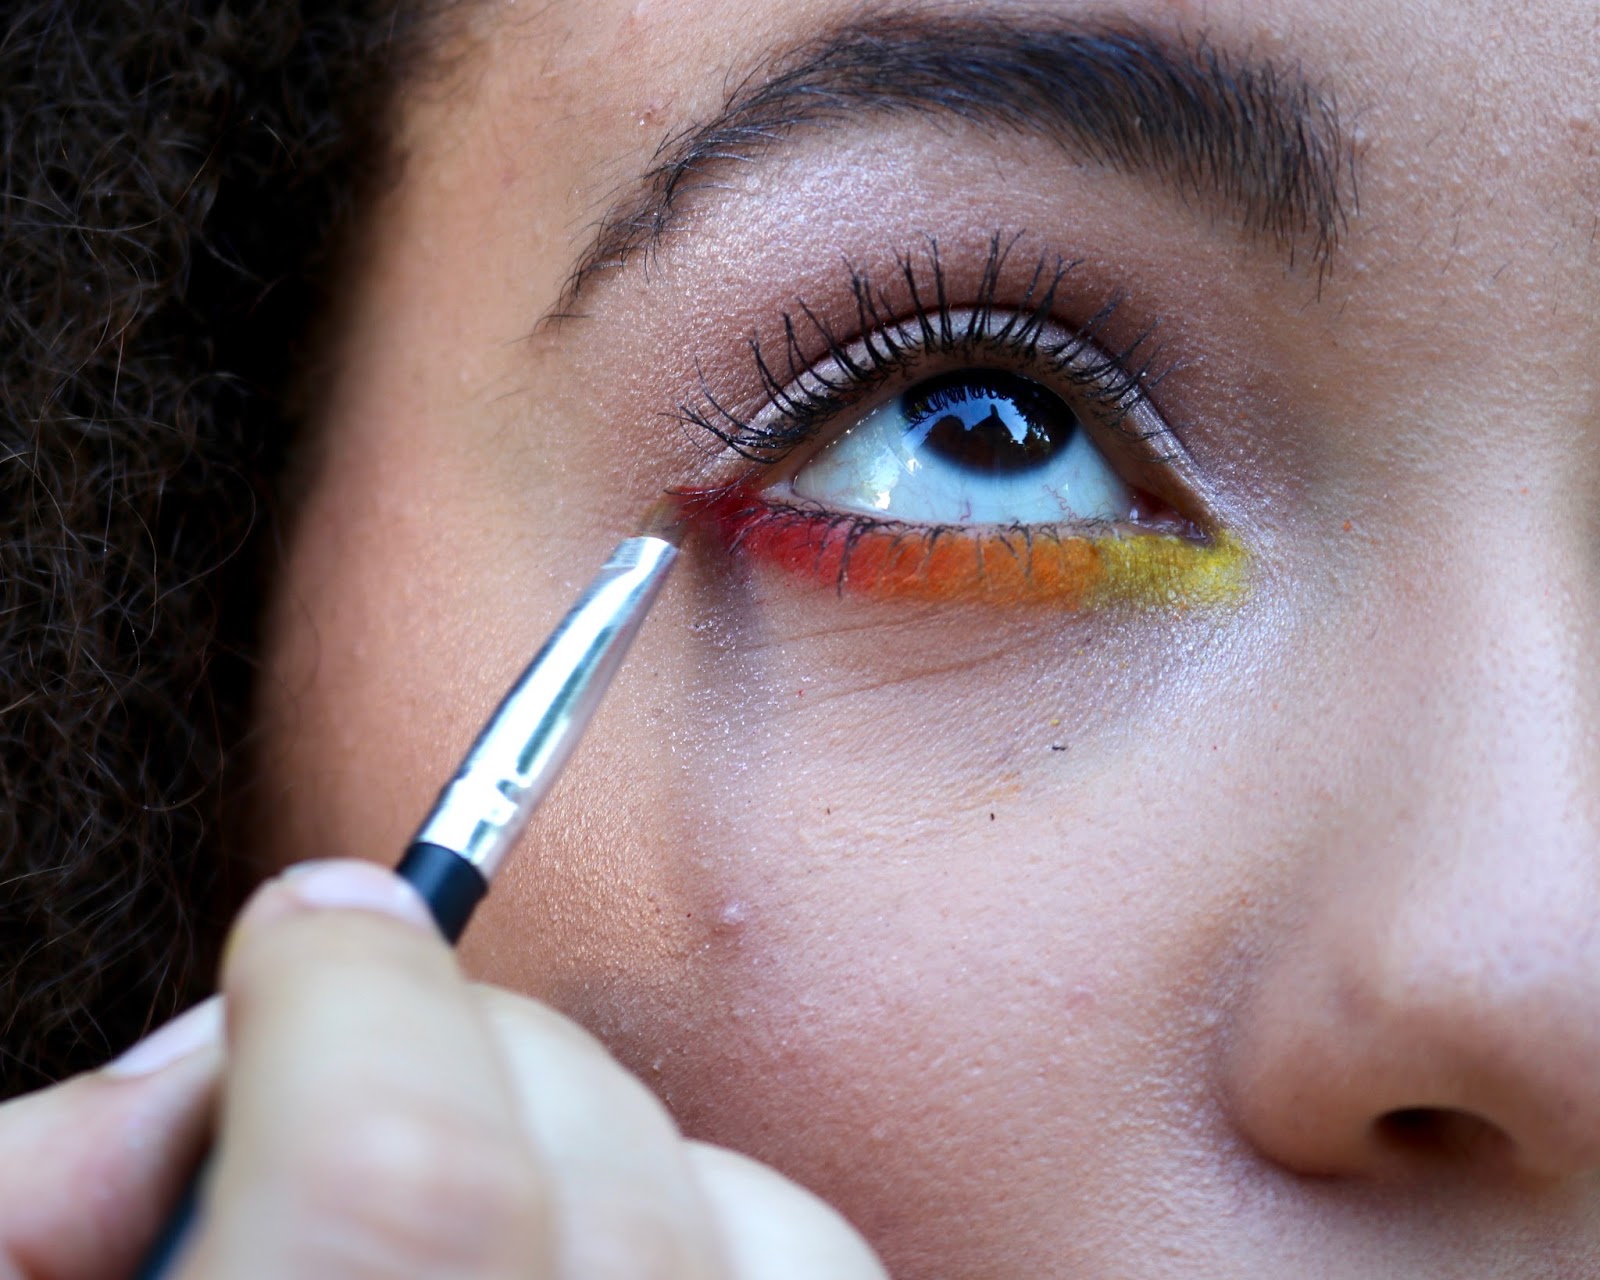
Take your pencil brush (the smaller and denser it is, the better) and apply a bright yellow eyeshadow on the inner corner of the lash-line.
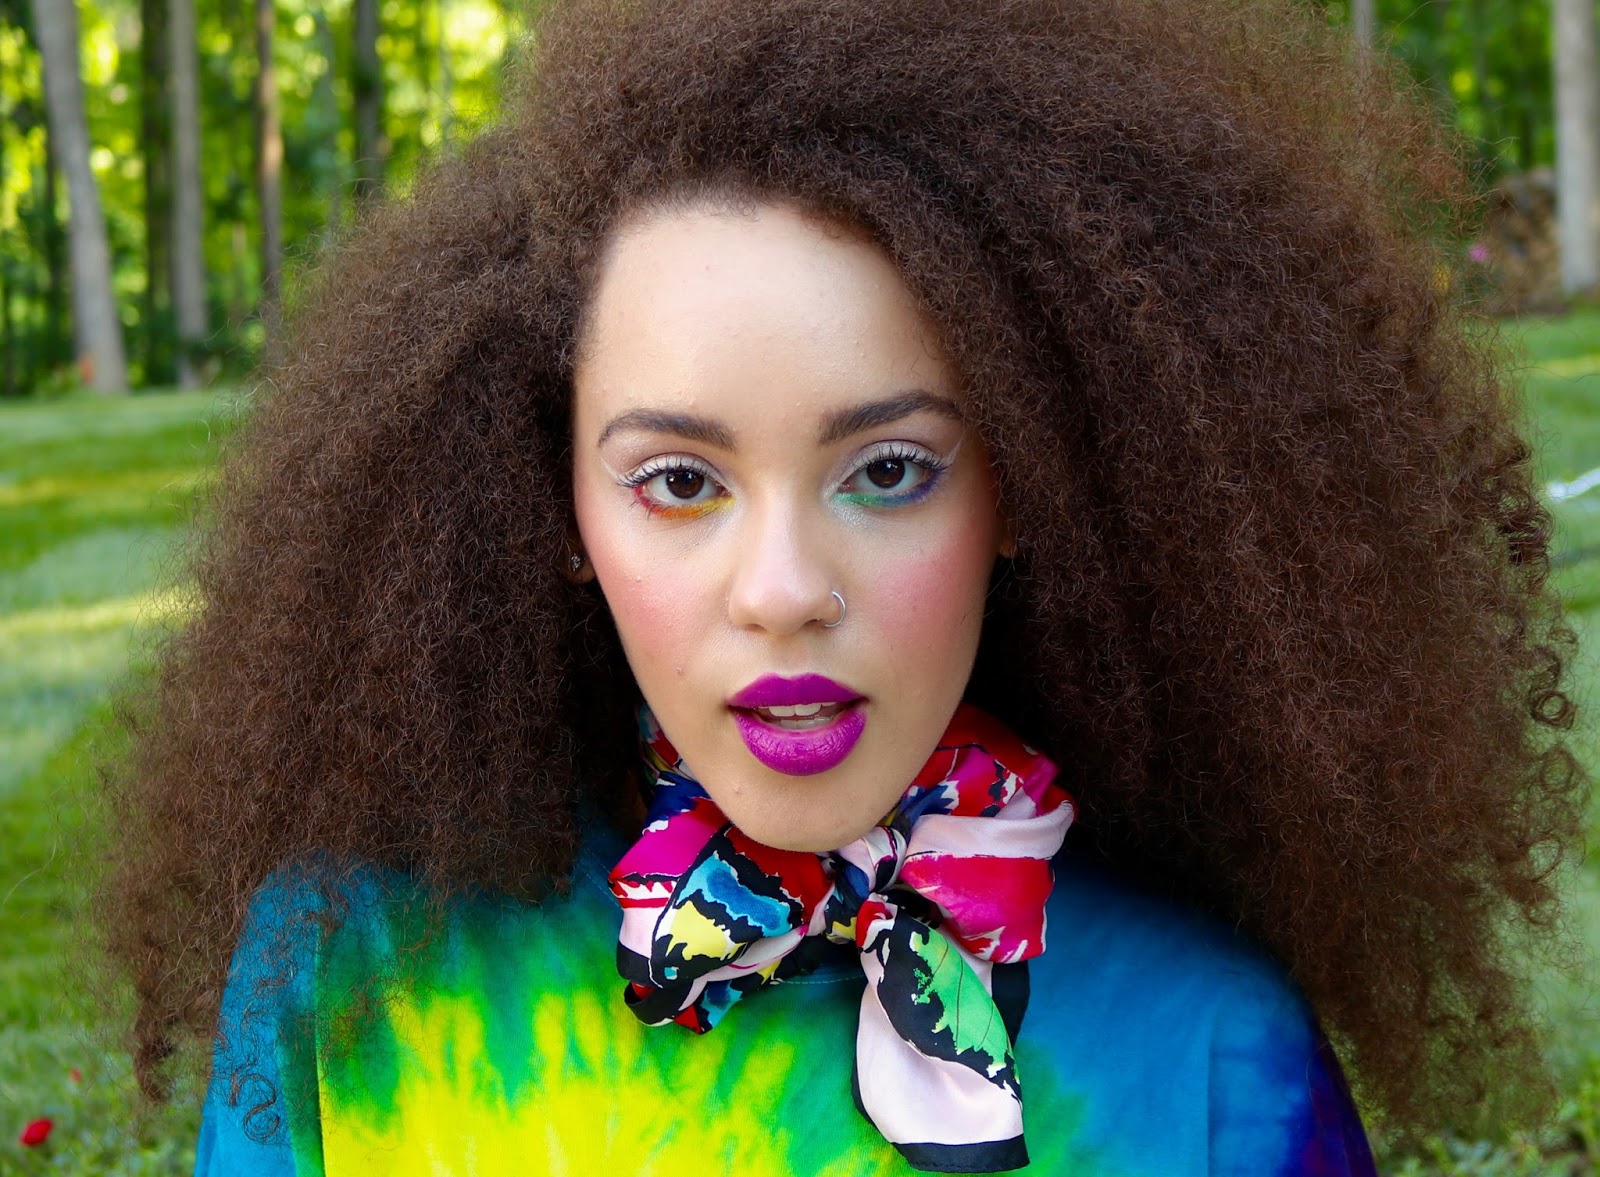
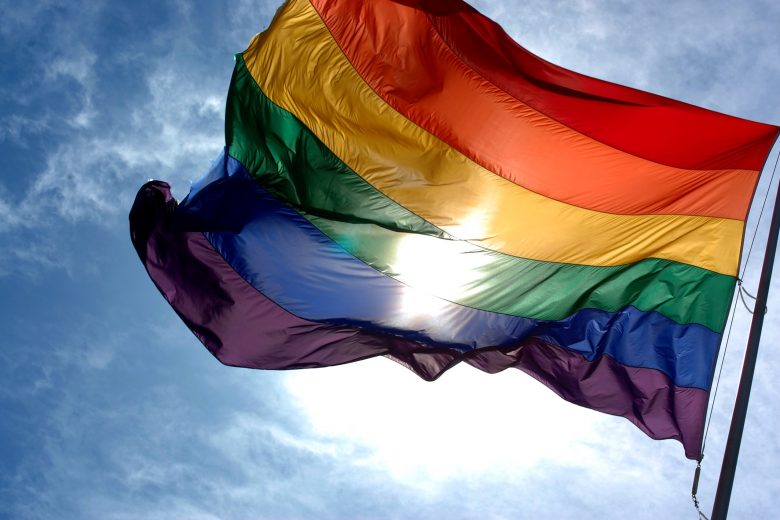
Quick Tip: You can do the colors in any order you like, but I applied the eyeshadow with warm colors on one eye, and cool colors on the other. To make it even more PRIDE-ful, apply the colors to resemble the order of colors on the LGBT flag.
Step 4: Warm Colors pt. 2
Continue along the bottom lash line: apply orange in the center, and red on the outer corner. Once you do this, your first eye is complete!
Step 5: Cool Colors
Moving onto the other eye, start by applying a green eyeshadow on the inner corner of the bottom lash line, just as you did with the yellow. Follow that by applying blue in the center, and purple on the outer corner of the lash line.
Step 6: Details pt. 1
This step is optional, but I added a small wing, along with some white along the upper lash line. I used a matte, white eyeshadow (this creates a softer, more subtle look), but white liquid eyeliner will work too. Finish off with mascara on the upper and lower lashes.
Step 7: Details pt. 2
Complete the look by applying blush on the apples of the cheeks, as well as applying a bright lip color. For the blush, I used a shimmery fuchsia, and for the lips, I used a matte magenta/purple.

